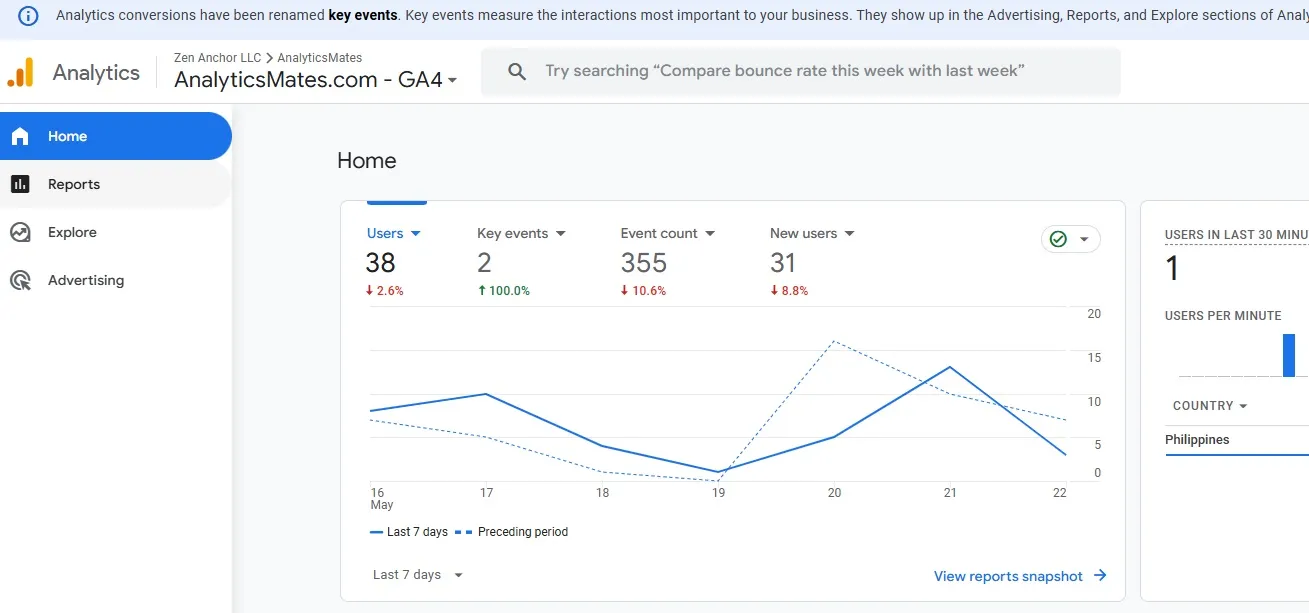
Google Analytics recently introduced a new feature that lets you download your GA4 data directly into Google Sheets. While there were other methods to achieve this, this new feature streamlines the process. In this blog post, we’ll walk you through the steps to use this feature, review previous methods, and discuss the importance of exporting your data.
How to export your GA4 data directly to Google Sheets
Important note: To share or export a report, you must have the Viewer role assigned at the property level.
1. In GA4 UI, go to Reports

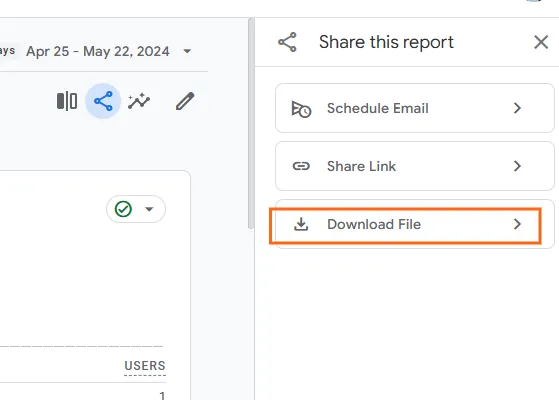
2. In the top right of a report, click Share this report

3. Select Download File.

4. You’ll be presented with options on how you’d want to download the report.
- Download PDF
- Download CSV
- Export to Google Sheets

Check your Downloads folder or the location where you saved the file. It should contain up to 5,000 rows of data.
What techniques were available before this feature
- Using Google Analytics + Google Sheets Add-On some text
- we’ve created a separate blog post about how or if there’s a way to upload your UA data to GA4 that also touches on this topic, check it out.
- Downloading a CSV file and importing it into Google Sheets:
- Follow the same steps outlined above for downloading your GA4 data to Google Sheets, but choose “Download CSV.”
- After downloading the CSV file, import it into Google Sheets.
What are the importance of knowing this information about exporting data
While this GA4 feature holds significance, it's even more essential to know and understand that a similar option exists within Universal Analytics. As the sunset of Universal Analytics (UA) approaches in just a few weeks, learning how to save your historical data effectively becomes increasingly critical.
Your past UA data holds valuable insights about how your audience has changed over time. While you can't directly import it into GA4 for analysis within its UI (as explained here), keeping this data allows for future comparisons. We've even built a Looker Studio template to demonstrate how you can leverage your old data alongside GA4.
So, we encourage you to start acting now and start saving your data. The steps are the same, in Universal Analytics you can do the following:
In your UA interface, go to your report where all the data you need can be found. On the top-right corner of your page, click Export and choose the options on how you’d want your data to be exported.

Before diving into your UA data export, take a moment to strategize. Knowing which data points are most valuable will save you time and ensure your information is organized for efficient future use.
We'll be publishing a comprehensive blog post soon, outlining best practices and key data points to prioritize during your UA data export. So stay tuned!
Final Word
Understanding this feature is vital, particularly as GA4 continues to evolve to meet user needs during the transition from Universal Analytics (UA). With the July 1st deadline fast approaching, preserving our historical data becomes crucial. The export feature per se is essential for ensuring the seamless continuation and accessibility of our valuable analytics insights.
While we bid farewell to UA and transition to GA4, it’s important to prioritize making sure we get hold of our legacy data. This data provides a comprehensive view of our past performance and trends, which is indispensable for future analysis and decision-making.
Thank you for reading! We hope this information helps you navigate the transition smoothly and ensures that your valuable data remains accessible and actionable.


%20Data%20in%20GA4.webp)


